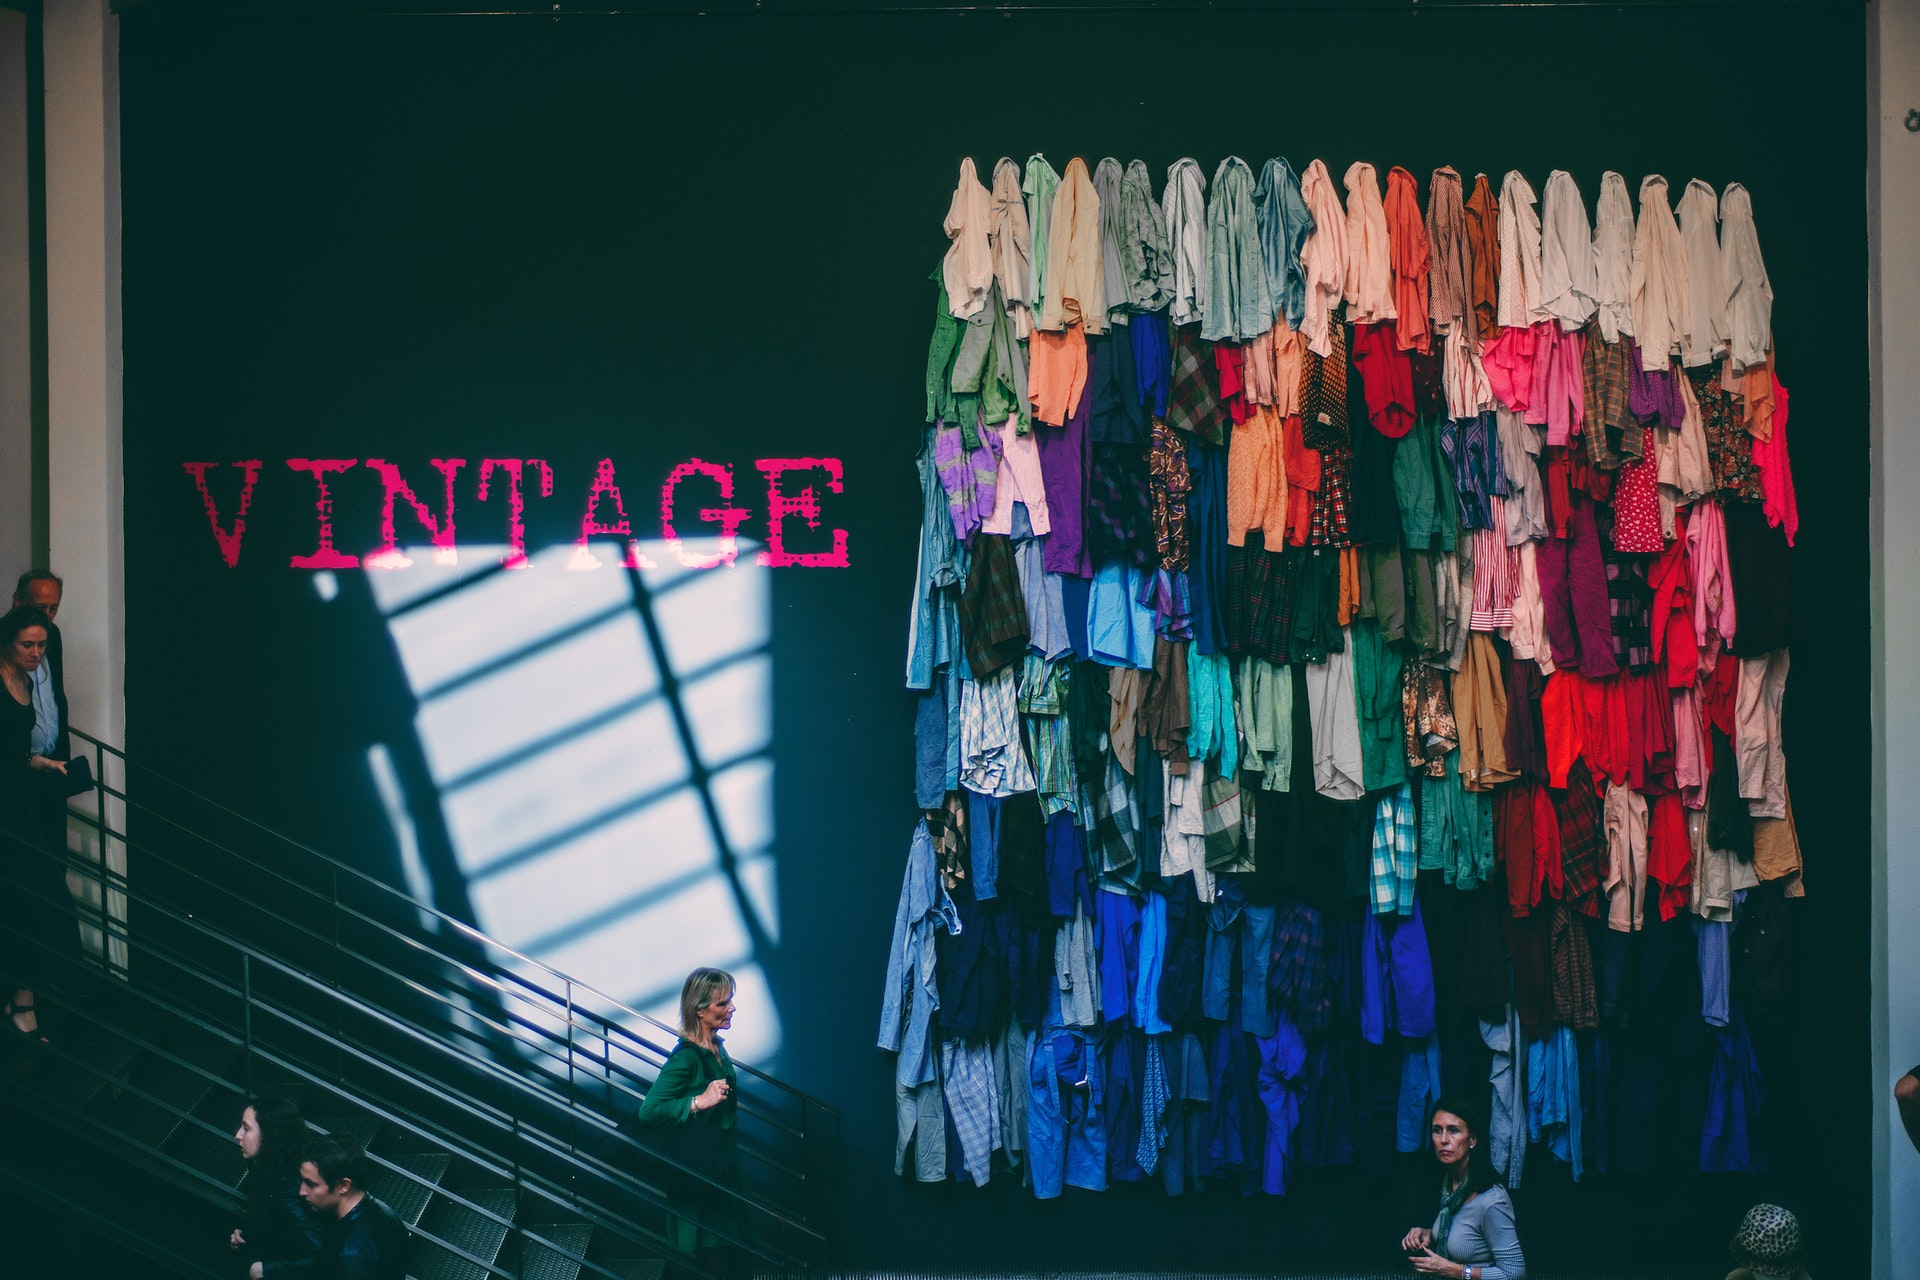
The vintage clothing enthusiast has evolved far beyond the typical clothing enthusiast.
Unlike the rest of the chumps, who are buying brand new clothes that lose all their value the moment you take the tags off and start wearing them, the vintage community has become wise in the ways of sustainable fashion.
And that doesn’t just mean fashion that’s sustainable for the planet, but fashion that’s sustainable for your wallet as well.
The vintage geniuses who started this movement realised that your vintage clothes are worth the same as what you bought them for, even after you wear them.
And that means that an integral part of the vintage community is selling and swapping your clothes. Who, I hear you ask, can make me wise in the ways of selling and swapping clothes online? Us. That’s who.
So here’s how to sell vintage clothes online from start to finish.
Contents
Accounts You’ll Need to Opne
- PayPal
- Depop
- eBay
- Vinted
- Gmail
Product Preparation
Product preparation is everything you do to get the product ready to be photographed and sold. Unfortunately, product preparation is somehow just as boring as it sounds, which is why so many aspiring sellers neglect it.
Whilst it’s pretty tragic looking at vintage garms that are as crinkly as a crinkle cut chip, it does mean that it’s pretty easy to get an edge on the competition. So, with that in mind, here’s our checklist for product preparation:
Assess the clothes
Thoroughly check the clothes for any damage or marks, here’s a few things worth checking that people usually miss:
- Test out any zippers
- Check that all buttons are present
- Look at all the seams for any stitching that’s undone
- Look for any browning or discolouration on the underarms
Wash Marks and Repair Damage
Now that you’ve plugged into the matrix and achieved total awareness of your piece of clothing, you’re ready to take each issue down, one at a time.
Or two at a time if two marks come off in the washing machine. Or three at a time if three marks come off. Or four at a time if four come off.
Or five at a time if five come off. Or six at a time if six come off. Or seven at a time if seven come off. And so on.
Typically, we would split issues with the clothing into two categories, marked and damaged.
Marks on the clothing should first be spot scrubbed to see how permanent they are and how effective spot scrubbing is for removing them. In many cases, spot scrubbing does the job and can remove any minor marks.
However, for bigger marks that are too difficult to spot scrub a machine wash may be required. For marks that seem more permanent, applying Vanish Gold gel (or an equivalent oxi-action gel) to the mark before putting them in the wash can be quite effective.
And this last little tip is pretty obvious but often forgotten, give the piece of clothing a good sniff. Then be honest with yourself, is that odour pleasant?
If the answer is no, do not just spray it with deodorant and cram it in a plastic bag and send it off you creature, wash it.
Damage on clothing can range anywhere from a simple loose button to a gaping hole the size of a honeydew melon.
It goes without saying that some items of clothing are just too damaged to sell, including those with holes the size of melons. When it comes to repairs, most simple problems, like small tears, missing buttons and loose stitching can be repaired for £5 or less at a local tailor.
But if you fancy yourself as the next Einstein of the thread and needle, take a crack at it yourself and post a photo of the results for us to either admire, or laugh at hilariously.
Get the Product Photo Ready
As mentioned earlier, if you take a photo of an item of clothing, and it can in any way be described as ‘crinkly’ something has probably gone wrong.
The same can be said for descriptive words such as ‘misshapen’ and ‘bobbly’ can be used. But fear not, these common pitfalls are very easy to avoid.
Are you ready for one of our juiciest tips yet? Oh boy is this one juicy, and when we discovered this, we were genuinely blown away by the results. A handheld steamer.
It’s like a steam breathing dragon, decrinkling all that comes before it. Make sure that when you wield this, you hold the clothing in its correct shape so you don’t end up with misshapen item.
Bobbles and lint can be removed by either using a lint roller or an electric lint remover.
Congratulations, you’ve managed to make it through the most boring part of this whole process, so strap in and get ready for some high-octane fun. That’s right, you’re ready to start taking photos.
Photography and Editing
When it comes to selling your clothes on marketplaces, nice photos are one of the best ways to stand out from the crowd.
It won’t surprise you to hear that a blurry photo of you wearing it in some nightclub with the face cropped out is not what we’re after here.
The best product photos make the product the main focus of the shot and draw attention to the best features it has.
Bearing that in mind, you’re going to have to make a few decisions about how you want to shoot the clothes and how that affects any edits you may need to do afterwards.
The three most common options are modelled, flat lay, or on a hanger. If you’re on a lower budget, looking for a simple option or a little camera shy, flat lay and on a hanger are the two options best suited to you.
So, here’s a few things you’re going to need to get going:
- A camera – nearly any camera on a smartphone from the last 5 years will do the trick, nothing too snazzy is needed to get nice photos
- A place to shoot – look for somewhere that has relatively even lighting for a good amount of time during the day, ideal places include walls, beds, dining tables, kitchen floors etc.
- A background – for flat lay photography, a solid colour background such as seamless white paper is good, or a green screen can be used and the background can be edited out. For photography on a hanger, a solid colour wall and a wall hook are best to use.
- A tripod (optional) – they’re available for under £10 and are perfect for the OCD vintage seller who insists on perfection from start to finish
- Lighting (optional) – you can get a twin set for under £35 from eBay, you only really need these if you can’t find somewhere that has even lighting
Whether you’re taking flat lay or on a hanger photos, try and get the item as flat as possible. It’s never going to be perfect but give it your best, the last thing you want is for your clothes to look sun dried.
When you’re taking the photos, try and make sure that the lighting is consistent and the angle the clothes are shot from is the same.
As mentioned earlier, if you can’t find somewhere with even lighting, a standard set of lighting does the job. Just try to position them so that lighting is even across the background.
Now, here’s a lovely little tip for getting white product backgrounds that will save you hours of internet trawling.
If you’re using a smartphone to take the product photos, download the free Lightroom app, and adjust the shutter speed and ISO to get different lighting effects.
Whilst getting a perfect white background with these shots is always nice, your number one priority should be for the photo to show the items true colour.
Listing
Do you see that up ahead? That’s right ladies and gentlemen, the finishing line is finally in sight. All damage is repaired, marks removed, it smells great and it looks great.
Your item of clothing is now more ready for a night on the town than you are. But let’s be honest, that’s not too difficult, is it?
Luckily for vintage sellers, there’s are plenty of online marketplaces where you can do this. The main options to choose from are Depop, Vinted and eBay.
Other platforms such as Etsy, Shpock and even Facebook Marketplace can work, but they generally have a smaller audience for vintage and second hand clothes than the other platforms.
Pricing
Working out the right price can be like trying to pin a tail on a donkey blindfolded. It’s both difficult and fraught with danger. Firstly, decide how quickly you want to sell your item.
If you want to get it straight out the door, you’re going to want to beat out the prices of other similar items on the marketplace, but if you’re happy to wait then listing you item at the average marketplace price is best.
You can work out how much your item is worth by searching for it on any of the previously mentioned marketplaces and filtering for price.
Try to take into account the condition of your item as well as how good it looks in the photos, and consider how that could affect its price.
Key Information to Include in Your Listings
By giving potential buyers as much information as possible, you’ll make sales quicker and have to answer fewer questions that have the same answer.
There are only so many times you can answer the question ‘how long does shipping take?’ before you crack.
Stating the Condition
Always make it really clear what the condition is and if there are any marks or flaws. Only a madman would buy an item of clothing that doesn’t mention the condition.
Sizing
Let people know the sizing on the label, and the size that you would recommend based on your own judgement.
When it comes to vintage clothing sizing can really vary over the decades, so can even be useful to take measurements of the Pit to Pit and Shoulder to Bottom. This will help make quicker sales and receive fewer returns.
Explaining Delivery Practices
Let people know the shipping provider you use, because some providers can’t ship to some addresses. It’s also good to give people an approximate time frame of when they can expect to get their item.
Returns or No Returns?
Choosing whether or not to offer returns is a true dilemma for every vintage clothing seller, especially when you’re just getting started out.
Whilst stating that you have a no refunds or returns policy can reduce the number of refund requests you get, ultimately all the platforms have buyer protections in place that allow buyers to return an item they buy for a full refund within a certain time frame.
But if you’re on the fence when it comes to selling you treasured piece, you can find the best ways to care for your vintage clothing here
Written By OneOff Vintage
The Daily Buzz combines the pursuit of interesting and intriguing facts with the innate human desire to rank and list things. From stereotypical cat pictures to crazy facts about the universe, every thing is designed to help you kill time in the most efficient manner, all while giving you something to either laugh at or think about!